Chess Table
This commissioned project was a pleasure to make from start to finish. I learned many new techniques while working on it. The client had a clear vision in mind from the very start and it did not take long to settle on a design. They wanted something simplistic with a hint of rustic style. Something that wouldn’t look out of place in a log cabin or a small apartment. A small table/side table of sorts where one could play chess and comfortably sit two people across from each other. They wanted a drawer, warm toned wood, and a shelf underneath for storage. They sent me various images of styles of chess tables they liked, dimensions for the table, and mentioned they liked round legs.

The client sent these images of chess tables showcasing a simple, rustic style with minimal ornamentation and the essentials of a table with a drawer. They appreciated the contrast of light and dark wood, and especially liked the warm-toned wood used in the second and fourth tables, as they wanted the table to complement the rest of the furniture they own.
Inspiration


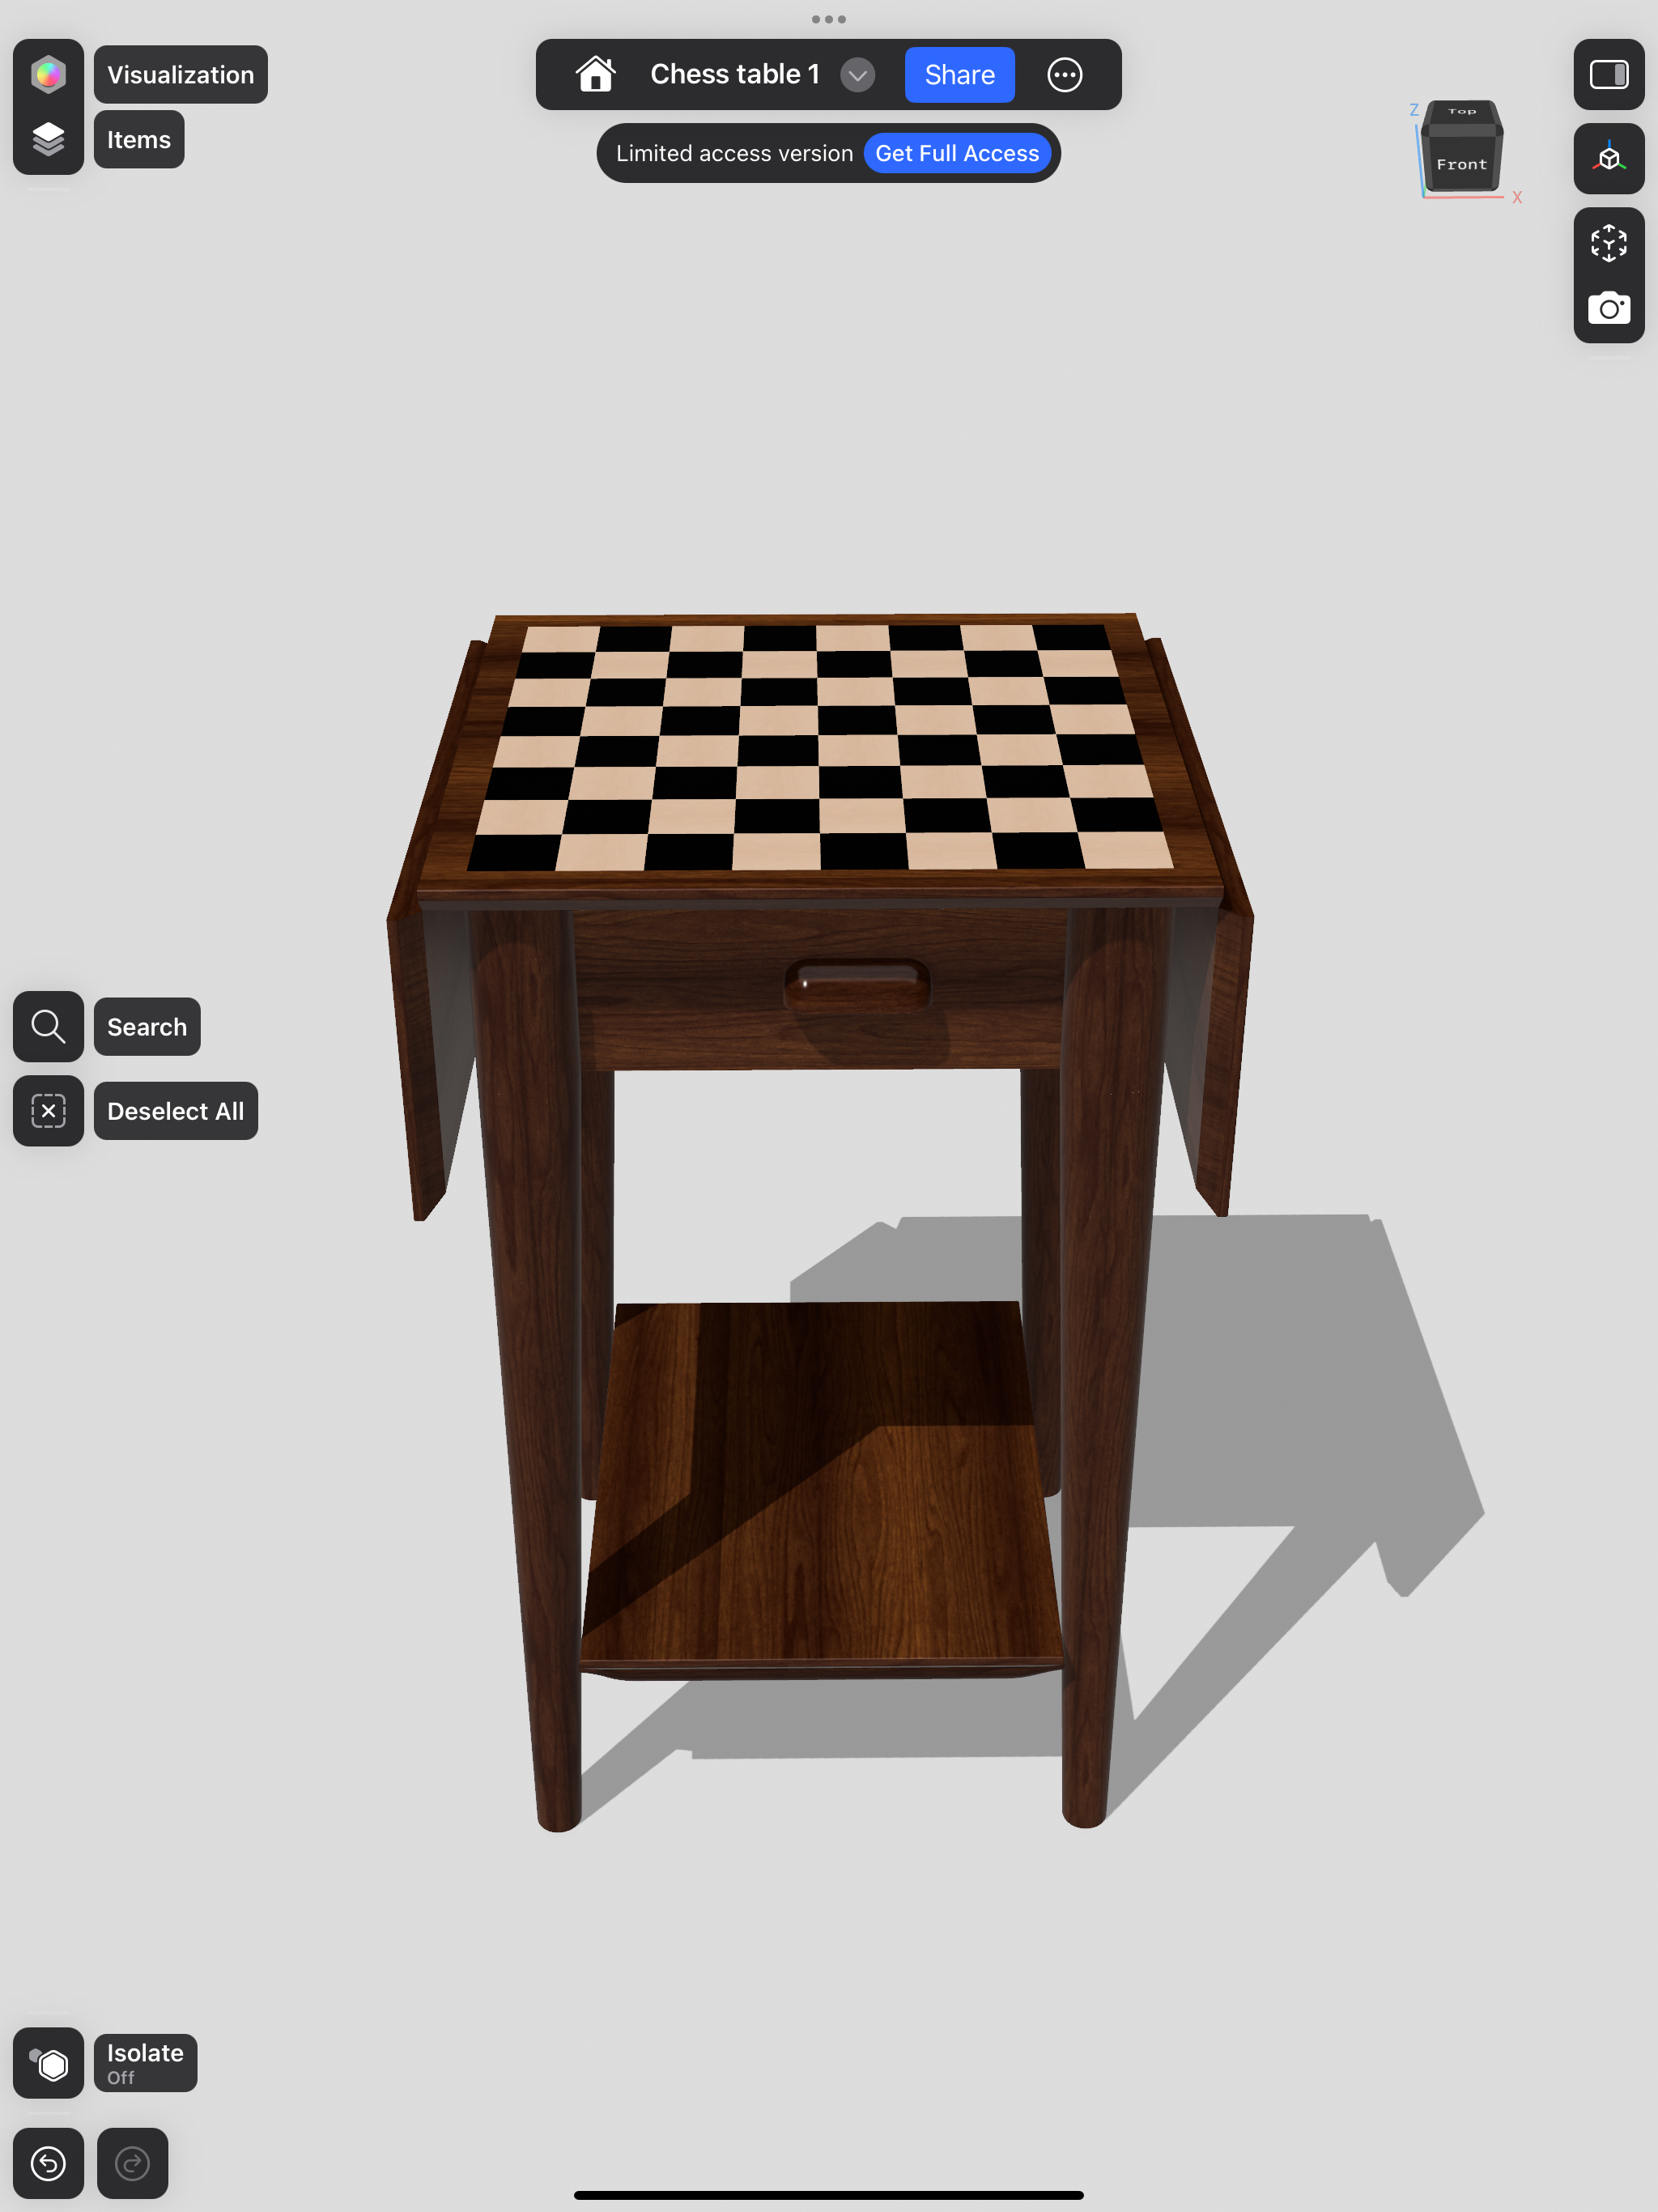
I played around with the idea of folding leaves to maximize use of space while the chess table is not in use since they live in an apartment, but in the end the overall dimensions of the table were not anything worth trying to make more complicated over. I also made one with simple traditional ornamentation on the legs. I presented these three models to the client and they immediately chose the one highlighted with the larger image.
Modeling


Fabrication
Wood Selection
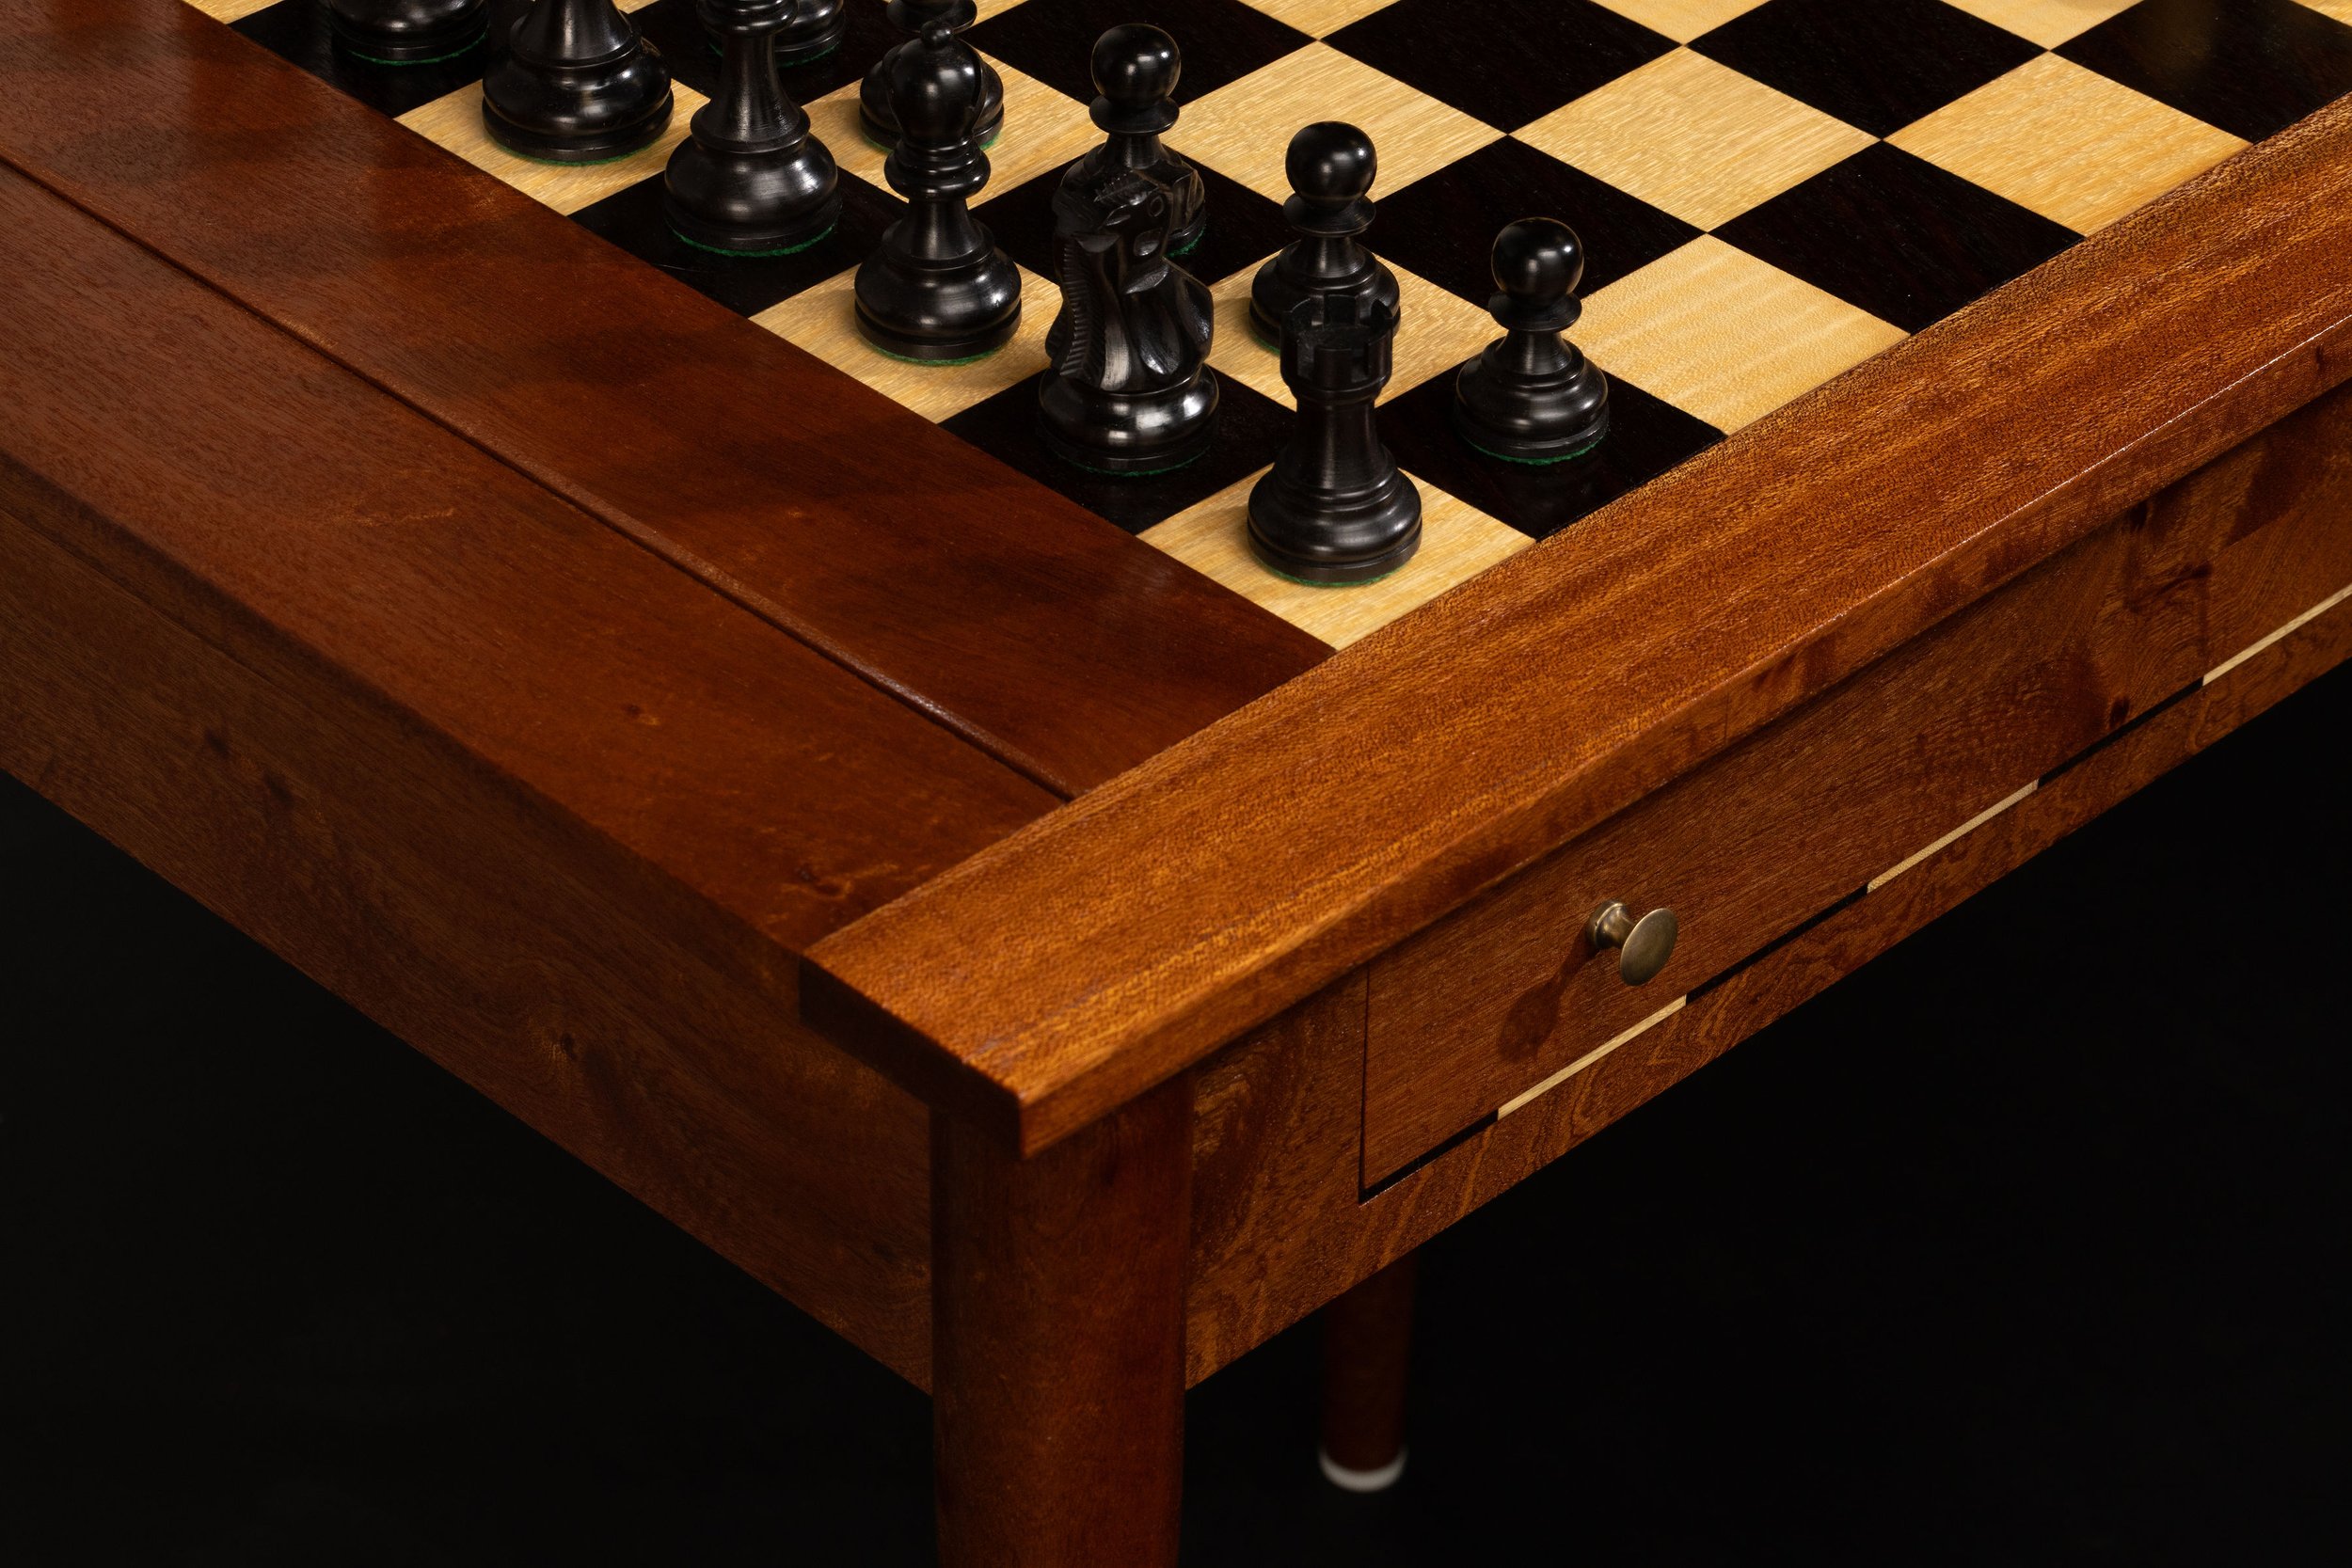
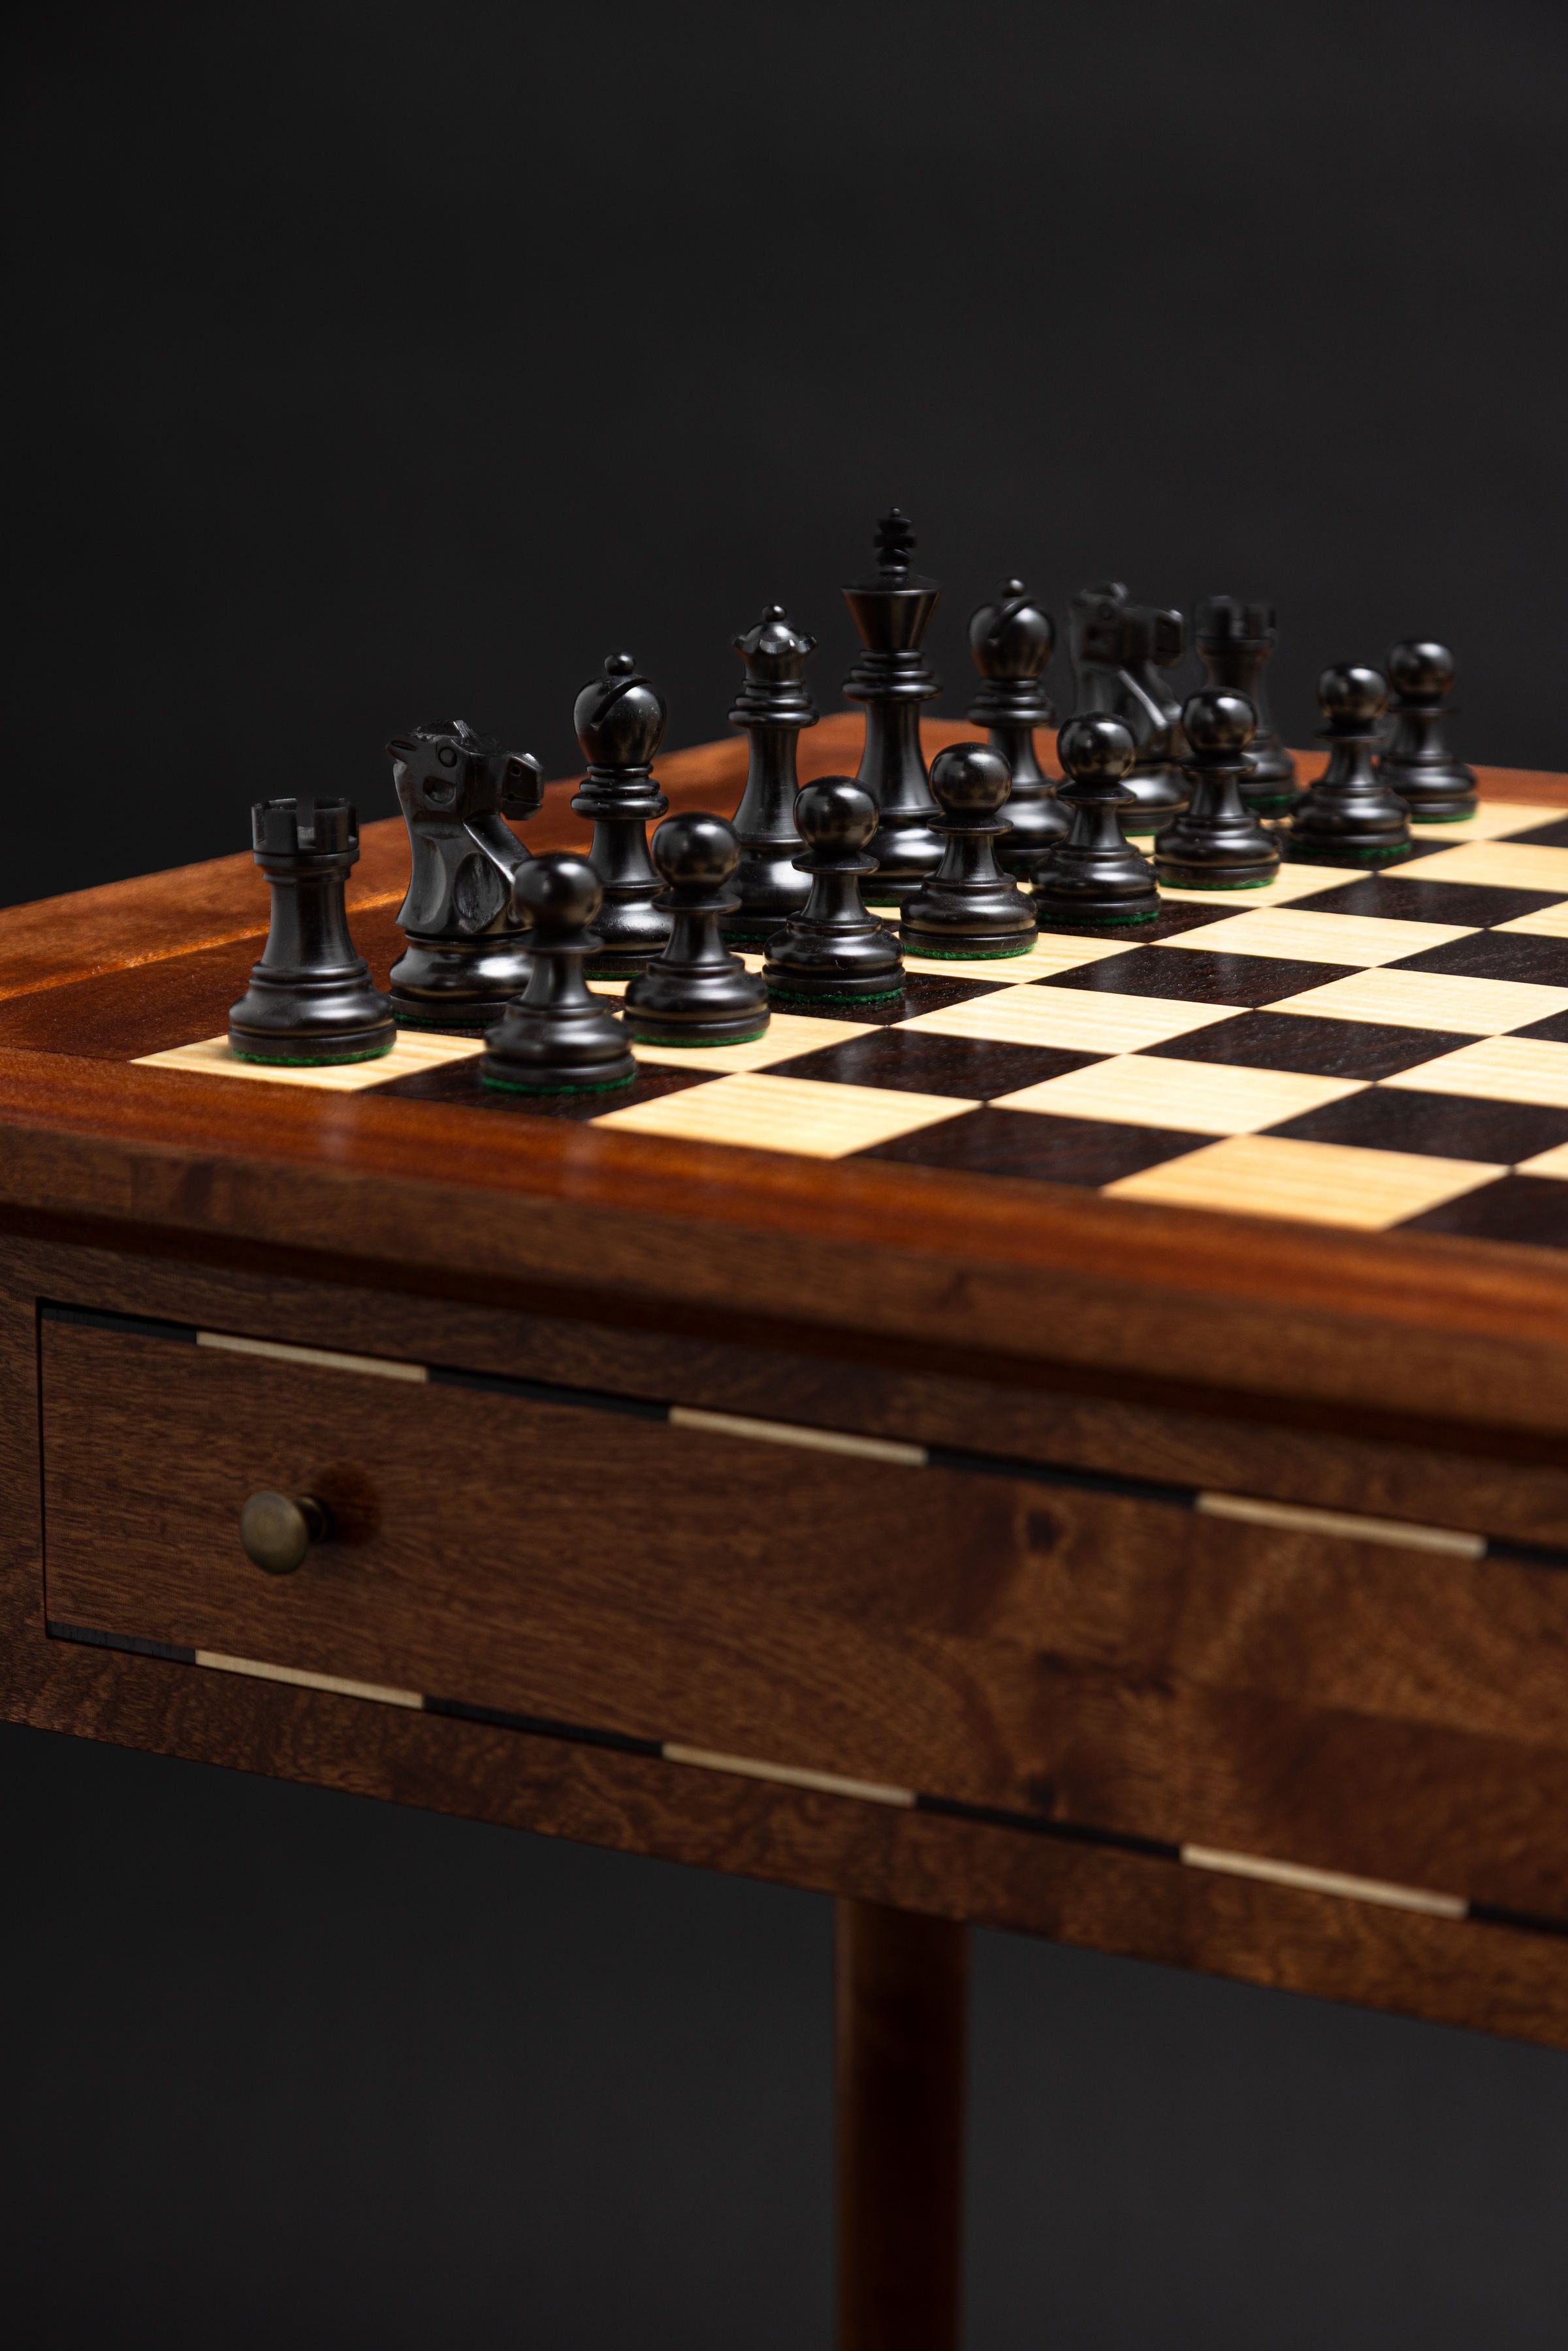
From left to right in the first image, the wood species I chose to use are Sapele, East Indian Rosewood, and Curly Sycamore. Sapele was an ideal candidate in terms of color; warm toned, and not as red as cherry. I was going to use Ebony, but with finish it looks pitch black. I wanted something that would be very dark but still show grain pattern when looked at closely, so I chose Rosewood. Finally, the Sycamore was lighter than even the Maple I thought I’d use and I wanted to maximize contrast.


Chessboard
I re-sawed the Rosewood so make multiple thin boards, and the Sycamore was already veneer, and so I laminated them onto small boards of maple and trimmed them even with each other. From there I glued them together once. After that dried, I cut them across to the same width, and offset every other board to achieve the checkered pattern. I glued them together again, and finally trimmed off the extra squares.


Tabletop
Since the chessboard is made of solid wood, it was necessary to account for expansion and contraction of it due to moisture fluctuation. Wood expands and contracts mostly across the grain, making more wide or more narrow. The wider the board, the larger the margin of size shift. To account for this, the chessboard is framed by the outer length of the tabletop but not glued to it. It is held in place with tongue and groove joints to allow for expansion and contraction over time.


Turning the Legs
The structure under the tabletop was put together simply with butt joints and screws, as I designed the legs to attach over the corners of the compartment. I started with a practice leg of Maple. In order to turn the legs on the lathe, I first cut out the corner that would fit over the table, then I glued in a piece of wood with paper in between the corner so that it could be removed later. This allowed for a stable base to be put on the lathe for safe and easy turning. I started by turning the top part of the leg, making the top 4-5 inches round, then I offset the endpoint on the foot. The top was turned on one axis, (center points shown in blue dots) and then the center point on the foot was offset (shown by the red dot). This turned the rest of the leg on a different axis, causing the leg to go straight down on the outer profile facing outside, and the inner profile to curve in and down. This was accomplished with calipers to ensure even proportions going down the leg. Finally, they were attached with two screws through the back and supported by corner braces in the main structure.


Drawer
Stretchers for the drawer were installed, and the sides of the drawer was put together using dovetail joints. The front panel was screwed on from the back. I wanted to do some sort of ornamentation on the drawer but I was not sure how without making it over the top, so I waited for inspiration to strike. When it did, I used trimmings from the chessboard to make a thin border on the top and bottom and re-sawed and bookmatched a narrow board in between so that it was a mirror image of itself across the middle.


The Finished Product