Walnut & Maple Side Table
This project was my first time making a commissioned piece for a client, and it provided lots of learning points for myself as a designer working for/with a client. It took several turns before breaking ground on the fabrication, but in the end it all worked out splendidly and my client is extremely happy with their table. Initially I was given free reign with the design of the piece, they wanted something unique.

These are the sketches from the first round. I knew that I might have to go through a process of elimination in order to narrow down to a style or design and so I went for a wide variety of styles.
Sketching Round 1


Sketching Round 2
After the first round, my client changed their mind, and came up with a style and list of criteria for the table they wanted. The list was as follows:
Mid-Century Modern
Multifunctional, as chair/table
1 Shelf
I adjusted the next sketches accordingly. In the end they chose this larger sketch, very simple, sleek, and minimalist. They decided upon where they would keep it, and gave me dimensions to follow accordingly.


Modeling
From there, I used Fusion 360 to model a few different versions of it, they selected one, and I made a scale 3D print of it to get a better sense of the proportions and scaling of the components in relation to each other. Then I used the model to make a cut list and figure out how many board feet of each type of wood I would need.


Fabrication

Dowel jig to drill holes in all of the stretchers
Dowel pin to mark connecting holes in the legs

Doweling jig and angle jig to drill angled holes in the legs
Test fitting the stretchers and legs together
Templates for cutting and routing the stretchers
Rough cut of the stretchers using a bandsaw


Calls with an angled cut into to clamp the legs together
Starbond to fill in holes/cracks, then sanded smooth
Adding to the sides of the shelf where legs will fit
Sliding t bevel to get exact angle to trim the shelf sides
Handplanes and sandpaper to join profiles
Template and files to round over corner edges
Glueing and screwing everything together

Completed glue-up


Handplanes and sandpaper to smooth legs end to end
Jig and router to cut profile on ends of legs


Routing the final profile of the stretchers with flush trim bit
Using a board and templates to hold the stretchers


Testing and adjusting the shelf to fit around the legs
Drilling holes for dowels connecting both sets of legs


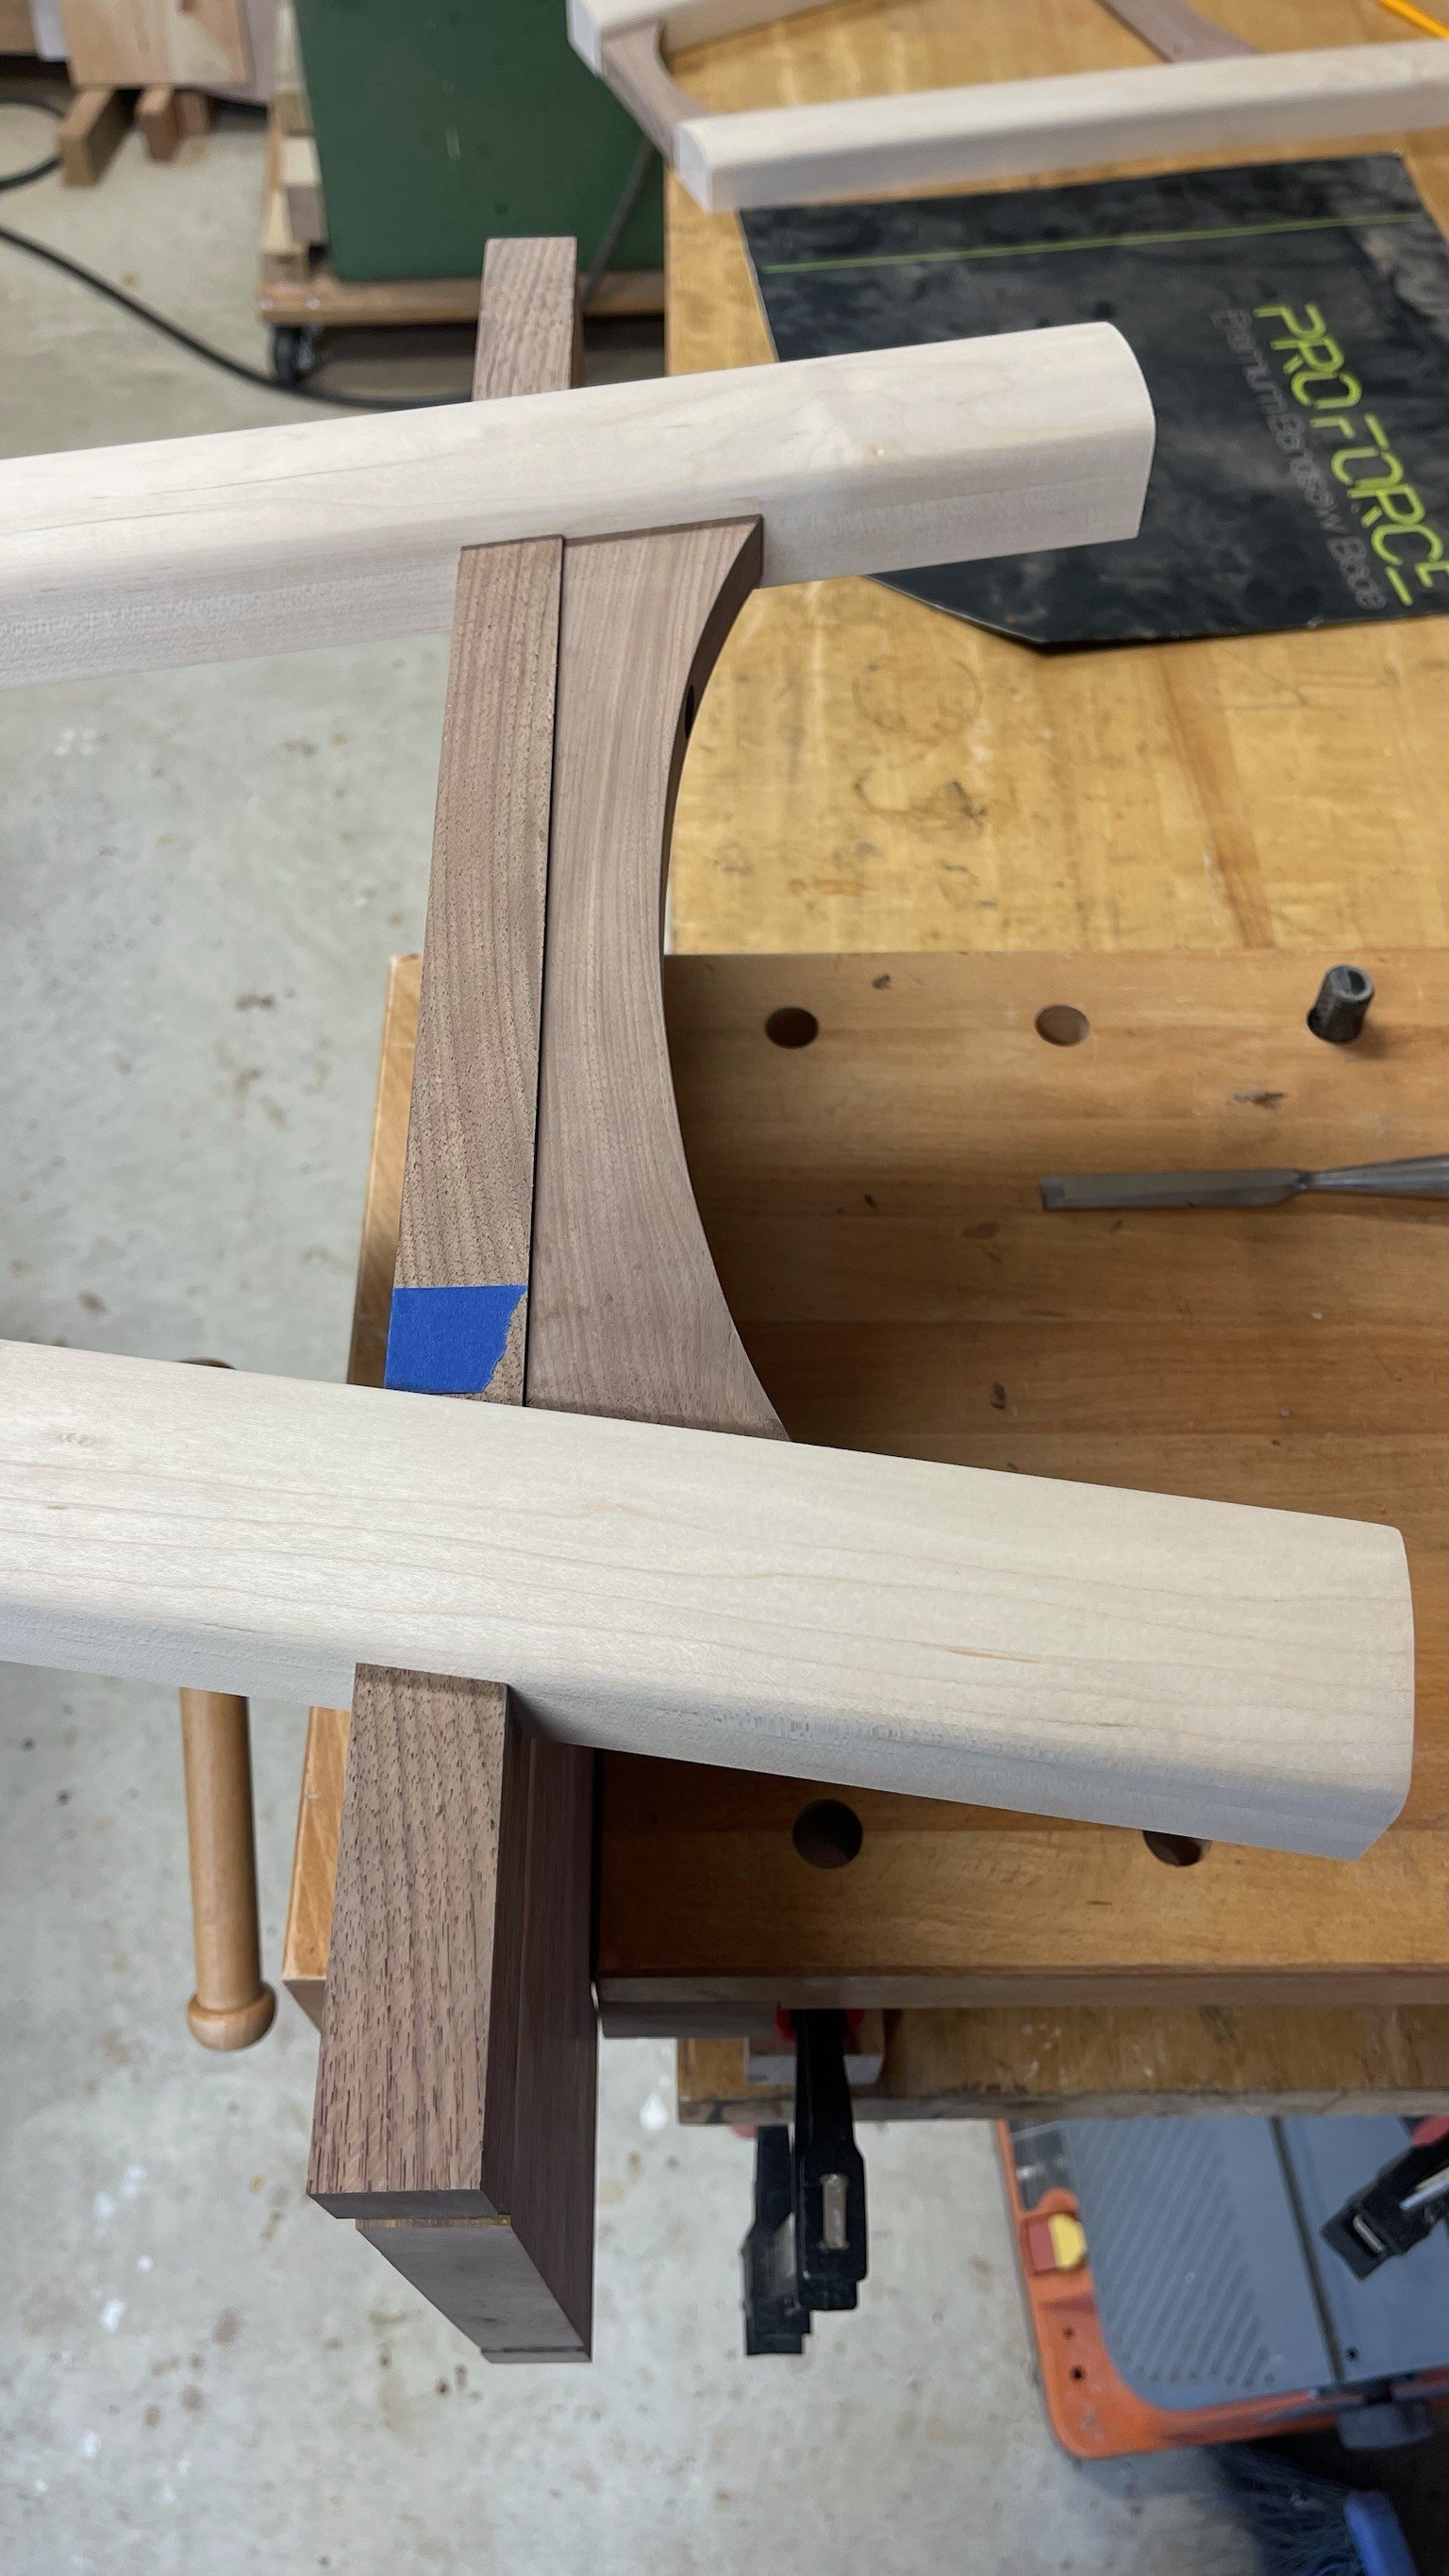
Test fit of stretchers between both legs

Jig to cut final profile on ends of top and shelf
Test fitting everything and inserting screws
Routing the final profile onto the corners

The Finished Table


